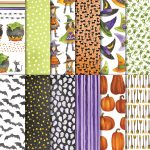
Here is the cute boxes and card set I made on Saturday. You can use any cardstock and paper when creating this project. To make the box you will need a 8 by 8 solid color cardstock for the bottom part and a 6 by 6 designer series paper for the top of the box. The bottom of the box you will score on all sides at 2 inches and the top of the box is scored at 1 inch on all sides. After you score you will cut on one side two lines going up to the score line running across (See photos) You will cut on two side of the paper at opposite ends.

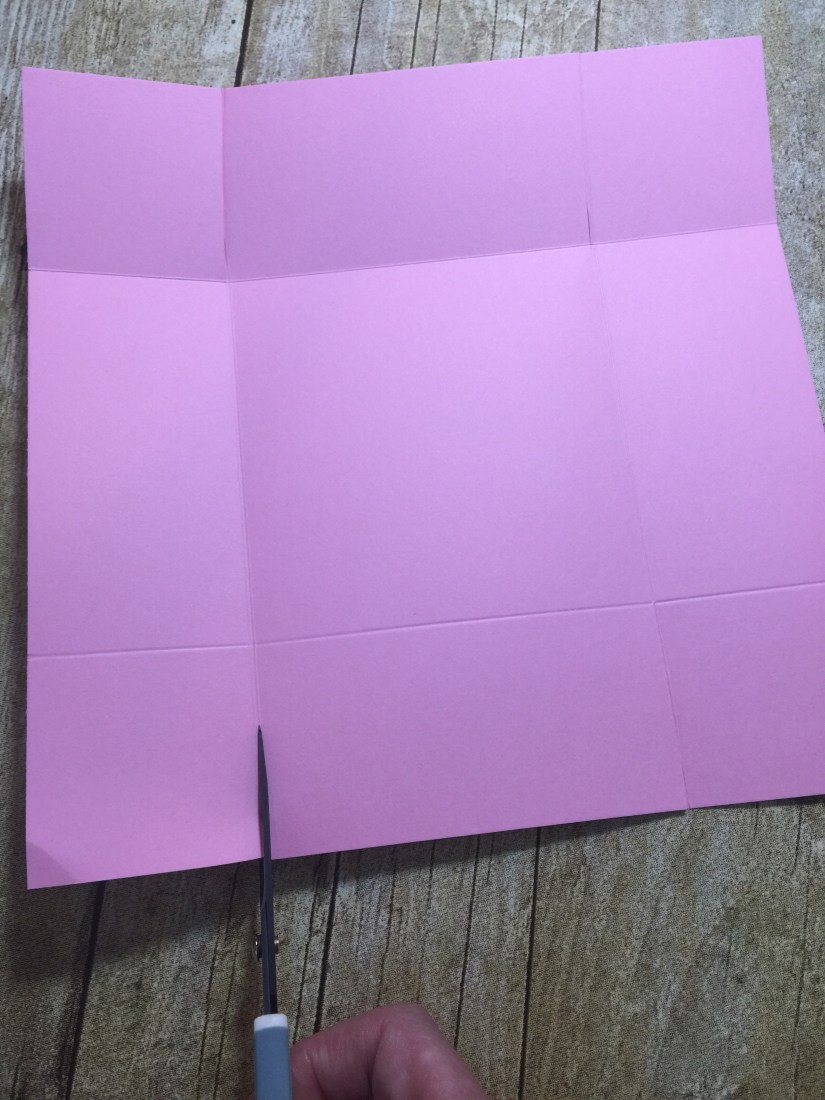
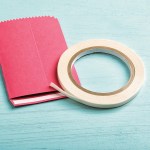
Once you are done cutting you will put tear and tape on the short ends and fold the ends up and attach to the larger piece of paper. The same method is used to create to top of the box. Make sure you use a good adhesive to hold the box together.
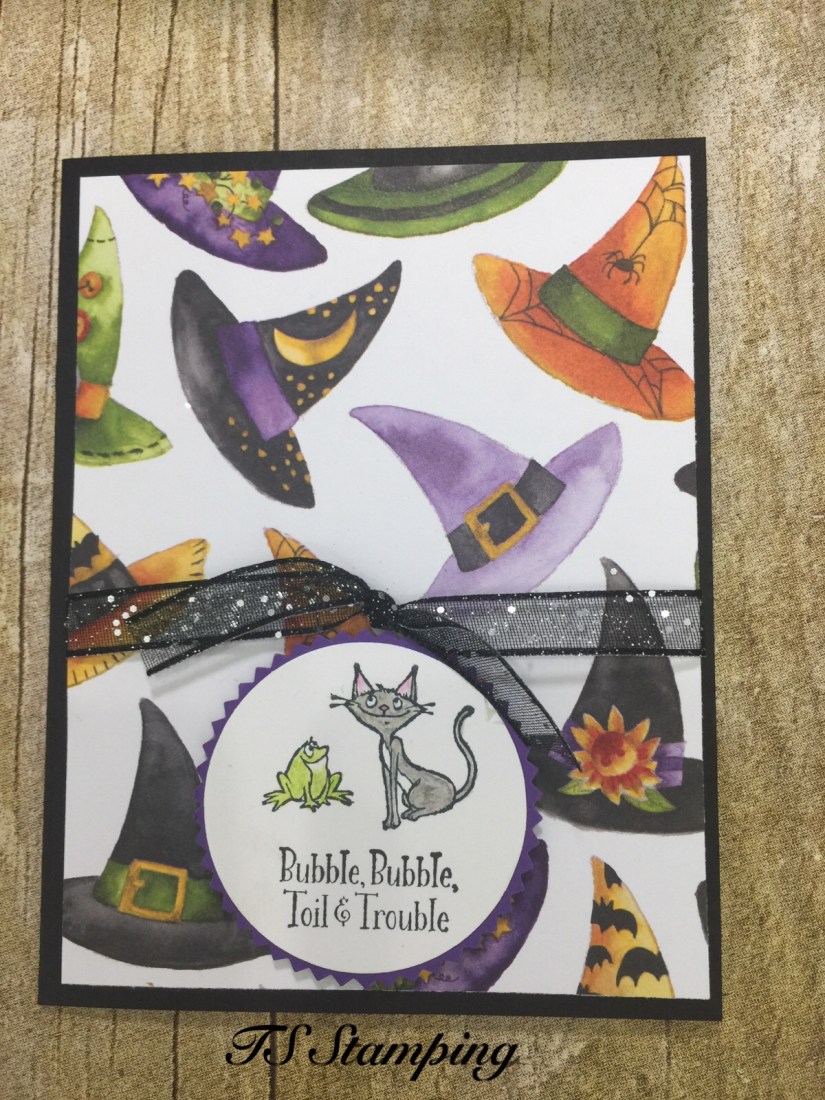

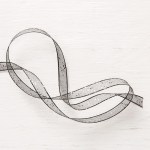
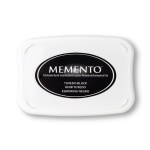
To make the card, you will need a card base at 8 1/2 by 5 1/2 scored at 4 1/4. The designer series paper on the first card is 5 1/4 by 4 and the second card is 5 1/4 by 2 1/2. I applied the glittered organdy ribbon and stamped the greeting. I used the 2 inch circle punch to punch out the greeting and the starburst punch to cut the black foil paper. They are applied to the card using dimensionals. See supply list below, they can be ordered at: http://teresascully.stampinup.net If you have any question on how to make this cute project feel free to contact me. Be sure to post your project to my Facebook group, I can’t wait to see them!!